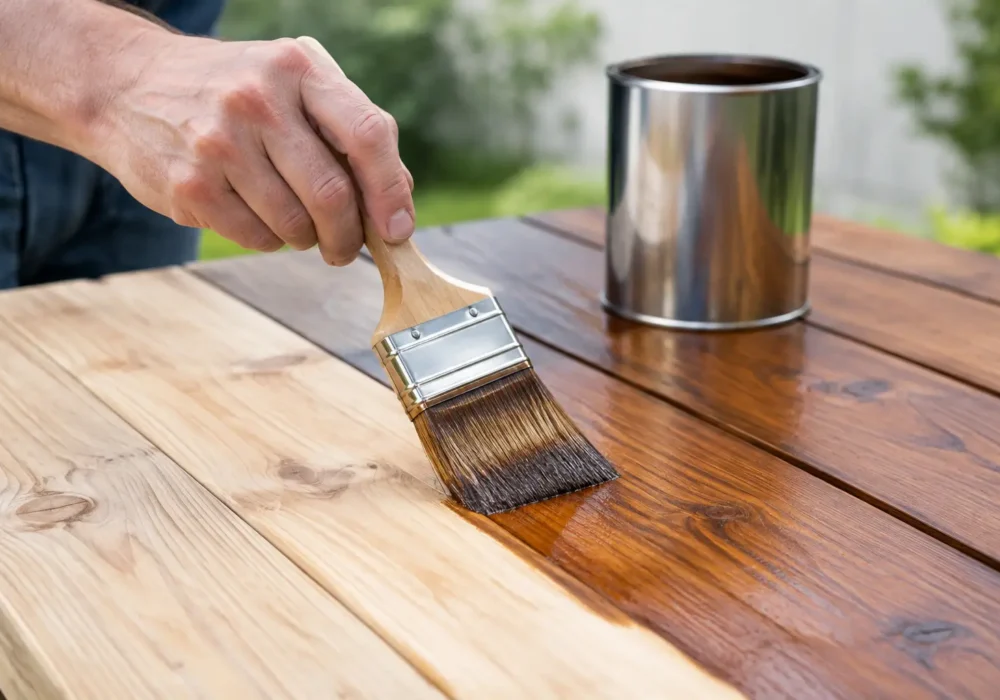
A stained timber door, weatherboard wall or set of trims can look tired long before the timber itself needs replacing. The key to how to paint stained timber is not simply covering the old colour. It is preparing the surface so the new coating can grip properly, block stains from bleeding through and stand up to everyday wear or changing weather.
Whether you are refreshing dark-stained interior trims or repainting exterior timber exposed to sun and rain, the condition of the existing coating determines the work required. Good preparation takes time, but it is what separates a finish that stays smooth from one that peels, bubbles or shows brown marks a few months later.
Start by checking the stained timber
First, work out what is on the timber. Older surfaces may have penetrating stain, clear varnish, polyurethane, oil, paint mixed with stain, or several coatings applied over many years. Rub a small hidden area with methylated spirits on a clean rag. If the coating softens or colour comes away, it may be a spirit-based finish. If it does not react, it is more likely a tougher varnish, polyurethane or oil-based coating.
You do not need to remove every trace of stain in most cases. The aim is to remove loose material, dull any glossy coating and create a clean, stable surface for primer. Full stripping is generally only worthwhile when the existing finish is badly failing, thick with old coatings, or when you want to return the timber to a natural finish.
Check carefully for rot, soft spots, splits, open joints and loose boards. Exterior weatherboards, fascia boards, window frames and timber posts often need minor carpentry repairs before painting. Painting over damaged timber may improve the appearance briefly, but it will not prevent moisture getting into the structure.
What you will need
For most stained timber painting projects, prepare the area with suitable cleaning materials, sandpaper, filler, gap sealant, a stain-blocking primer and quality topcoat paint. A scraper, sanding block or orbital sander, dust mask, drop sheets, quality brushes and rollers will also make the job cleaner and more efficient.
The best products depend on where the timber sits. Interior skirtings and doors need a hard-wearing enamel or water-based trim paint, while exterior timber needs a premium exterior coating that can cope with UV exposure, moisture and temperature movement.
How to paint stained timber step by step
1. Clean away dirt, wax and surface contaminants
A clean surface is essential. Indoors, wash the timber with sugar soap or a suitable surface cleaner, then wipe it down with clean water and allow it to dry fully. Kitchen joinery, doors near handles and older furniture may have grease, polish or wax on them, all of which can affect adhesion.
Outside, remove dirt, cobwebs, mould and chalky residue before sanding. Pressure washing can be useful for weatherboards and larger exterior surfaces, but it must be done carefully. Too much pressure can damage soft timber, force water into gaps or raise the grain. Allow exterior timber plenty of drying time after washing, particularly during cooler or damp weather.
If mould is present, treat it properly rather than simply painting over it. Mould can reappear through a new coating if spores and moisture issues are not addressed.
2. Scrape, sand and remove failed coatings
Scrape away peeling paint, loose varnish and flaking stain until you reach a firm edge. Sand those edges smooth so they do not show through the finished coat. On sound stained timber, sanding is mainly about taking away gloss and giving the primer something to hold onto.
Start with a medium grit, often around 120 to 150 grit, for rough or glossy areas. Follow with a finer grit where needed to smooth raised grain and repairs. Sand in the direction of the grain where practical, especially on visible interior timberwork.
Do not skip dust removal. Vacuum the surface and wipe it with a clean, damp cloth or a suitable tack cloth. Fine sanding dust left on timber can leave rough patches and weaken the bond between coats.
3. Repair holes, splits and gaps
Use a quality timber filler for nail holes, dents and small surface splits. For exterior repairs, choose a filler rated for outdoor use and follow the drying instructions carefully. Deep or moving cracks may need a more flexible repair product, while open joints around trims and frames are usually better sealed with a paintable gap sealant.
Once dry, sand the repair flush with the timber. This stage is worth taking seriously because paint tends to highlight uneven areas, particularly on doors and trims where light falls across the surface.
If timber is soft, crumbling or visibly rotten, replacement is often the more durable option. Filling major rot can trap the underlying problem and lead to early paint failure.
4. Apply a stain-blocking primer
Primer is the step that makes painting stained timber reliable. Dark stains, knots, tannins and water marks can migrate through ordinary paint, creating yellow, brown or reddish patches after the topcoat has dried. A stain-blocking primer seals these contaminants and gives the topcoat a consistent base.
For interior stained timber, a quality stain-blocking primer is usually enough after cleaning and sanding. For exterior hardwoods, weathered timber or areas with visible tannin bleed, use a primer designed for exterior timber and follow the manufacturer’s recoating times.
Apply primer evenly with a brush for profiles and edges, then use a small roller for broad, flat areas. Work it into joins, end grain and exposed edges, as these are common entry points for moisture. One coat may be sufficient on a sound surface, but apply a second spot-prime coat over knots, repairs and persistent stains.
Allow the primer to dry completely. If raised grain or roughness appears, give it a light sand with fine paper before removing dust.
5. Apply two quality topcoats
Two finish coats usually provide the best coverage, colour consistency and durability. Apply the first coat in thin, even layers rather than trying to achieve full coverage in one heavy pass. Heavy coats can sag on doors, pool in profiles and take much longer to cure.
Use a good brush to cut in around edges and mouldings, maintaining a wet edge to reduce brush marks. On larger flat surfaces, a suitable roller will produce a more even finish. Follow the paint manufacturer’s recoat time, as recoating too soon can cause dragging, wrinkling or poor cure.
Lightly sand between coats if the surface feels rough, especially on interior doors, trims and cabinetry. Wipe away dust before applying the final coat. Protect the finished area from knocks, rain and heavy use until the paint has properly cured, not just dried to the touch.
Choose the right paint for the job
The best finish depends on location and use. For interior doors, architraves and skirting boards, water-based enamel is a popular option because it dries quickly, has lower odour and is easier to clean up. Traditional oil-based enamel can level nicely and provide a hard finish, but it has a stronger smell, longer drying time and may yellow over time in darker rooms.
For exterior stained timber, choose a premium exterior paint system suited to the substrate. Exterior coatings need flexibility as timber expands and contracts through Melbourne’s changing conditions. Paint alone cannot compensate for poor drainage, unsealed end grain or timber that remains damp, so address those issues before starting.
Colour also matters. Very dark exterior colours can make timber hotter in direct sun, increasing movement and stress on the coating. Lighter colours generally place less heat load on weatherboards, doors and trim.
Common problems when painting over stain
The most common issue is stain bleed-through. If brown marks appear after priming or topcoating, allow the surface to dry, spot-prime the affected area with a stronger stain blocker, then repaint. Adding more standard topcoat without sealing the stain rarely fixes the problem.
Peeling usually points to inadequate cleaning, insufficient sanding, moisture in the timber or incompatible products. Blistering outdoors can also occur when paint is applied in direct hot sun or when moisture is trapped behind the coating. If this happens repeatedly, investigate the source of water rather than continually repainting the same patch.
Brush marks are usually caused by overworking paint as it begins to dry, using a poor-quality brush or applying coats too thickly. Work in smaller sections, use the right applicator and resist going back over paint once it has started to tack off.
When it makes sense to call a professional
A straightforward interior door can be a manageable weekend project. Larger exterior jobs are different. Multi-storey weatherboards, badly deteriorated trims, heritage details, extensive stain bleed and timber repairs require more careful assessment, safe access and a complete coating system.
For homeowners, landlords and property managers across Wyndham, Hobsons Bay, Greater Geelong, the Bellarine Peninsula and the Surf Coast, Seaview Painting Services can prepare, repair, prime and paint stained timber as part of a full repaint or targeted restoration. Thorough preparation helps protect the timber as well as improve its appearance.
If you are unsure whether the old stain is sound enough to paint, test a small area first. A careful test patch can save a great deal of time and help ensure the finish you choose looks right and lasts well.