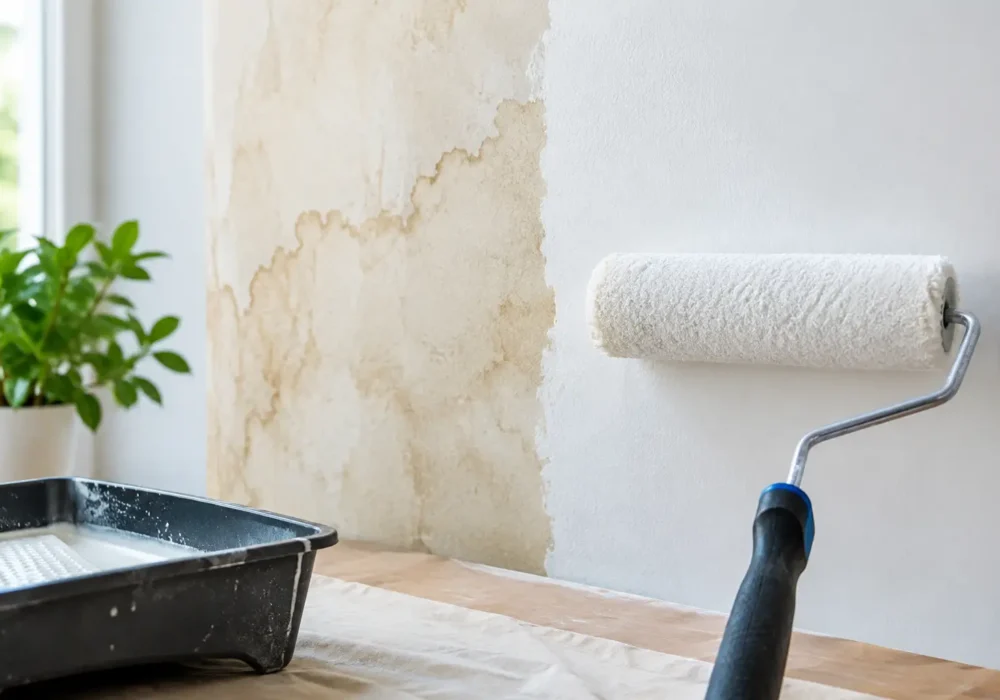
A brown ring spreading across a ceiling, a yellow mark above a window or a discoloured patch on a wall can make an otherwise tidy room look neglected. A water stain primer is designed to stop those marks bleeding through fresh paint, but it is only one part of a lasting repair. The source of the moisture must be found and fixed first.
For homes and commercial properties around Wyndham, Hobsons Bay, Geelong and the Surf Coast, water staining commonly follows a roof leak, plumbing issue, overflowing gutter, failed sealant or condensation problem. Painting over the mark without proper preparation may look fine for a short time, then the stain reappears through the new topcoat.
Why water stains keep coming back
Water carries contaminants through plaster, timber and existing paint. Depending on the source, this can include tannins from timber, rust, dirt, smoke residue or minerals. Once the area dries, those contaminants remain in the surface. Standard wall paint is made to provide colour and a durable finish, not necessarily to lock in stubborn stains.
That is why a ceiling can be repainted twice and still show a faint yellow shadow after a few weeks. The issue is not always poor-quality paint. It is often that the stain was never sealed with the right product, or the moisture problem was still active behind the surface.
Before any painting starts, check whether the stain is dry and stable. If it is damp to touch, getting larger or has a musty smell, there is more investigation to do. A leaking roof, pipework, shower recess, air-conditioning unit or external flashing needs attention before the painter can confidently complete the finish.
What a water stain primer does
A quality water stain primer forms a barrier between the stain and the new paint system. It helps prevent discolouration from migrating into the topcoat, while also giving fresh paint a sound surface to bond to.
Stain-blocking primers are available in water-based, oil-based and shellac-based formulas. Each has a place, and the best choice depends on the severity of the stain, the surface and the paint system being used. A light, old water mark on sound plasterboard may respond well to a suitable water-based stain blocker. Heavy yellow staining, nicotine residue, timber tannins or recurring bleed-through may need a stronger oil-based or shellac-based primer.
The trade-off is that stronger primers can have a more noticeable odour and may require different cleaning methods or longer drying times. Good ventilation matters, particularly in occupied homes, schools, offices and other indoor spaces. The right product is not simply the strongest one on the shelf. It is the one that suits the problem and the surface.
Primer is not a cure for an active leak
Primer can seal a stain, but it cannot repair a damaged roof tile, blocked gutter or leaking pipe. Applying it over an active moisture issue may trap the appearance temporarily while the underlying damage worsens.
If plasterboard is swollen, soft, sagging or crumbling, it may need repair or replacement rather than just painting. Likewise, mould should be dealt with properly before coating the area. Simply covering mould with primer and paint does not remove the cause or make the surface sound.
Preparing a stained wall or ceiling properly
The best paint finish starts with preparation. Once the moisture source has been repaired and the surface has fully dried, loose or flaking paint should be removed. The area is then cleaned to take away dust, grime and any surface residue that could interfere with adhesion.
Light sanding may be needed to smooth raised edges around the affected patch. Small cracks, dents or damaged joints can be filled and sanded level before priming. On ceilings, careful feathering is especially important. A stain may be gone, but a rough repair can still stand out when light falls across it.
It is tempting to spot-prime only the darkest part of the mark. In practice, it is often better to extend the primer slightly beyond the visible stain. This gives a more reliable seal around the edges, where faint contamination can remain unnoticed.
After the primer has dried, inspect it in good light. If staining is still visible or begins bleeding through the primer, apply another coat where the product instructions allow. Do not rush straight to the finish coats in the hope that ceiling paint will hide the problem. It usually will not.
Choosing the right primer for the surface
Plasterboard ceilings and painted walls are the most common locations for water stains indoors, but the surface makes a difference. Bare plaster repairs may need a primer suited to new plaster as well as stain blocking. Previously painted surfaces need to be clean, dry and firmly adhered before any coating goes on.
Timber presents another consideration. Water damage can draw natural tannins to the surface, particularly in knots, weatherboards, trims and older timber features. These brown or reddish marks can bleed through pale paint colours unless they are sealed correctly. Exterior timber also needs the underlying moisture issue resolved and any deteriorated material repaired before priming.
Metal stains, including rust marks around fixings or exterior fittings, need a different approach again. Loose corrosion must be removed and an appropriate metal primer used. A general stain blocker alone may not provide the corrosion protection required for a durable exterior result.
Match the primer to the topcoat
Most professional paint systems are designed to work together, but compatibility should never be assumed. The chosen primer must suit the surface and accept the intended acrylic, enamel or speciality topcoat. Following manufacturer drying and recoat times also matters. A rushed coating schedule can affect adhesion and leave an uneven sheen.
For a large ceiling, a full repaint is often the neatest option after spot priming. Even when the stain is sealed, touching up one patch can leave a visible difference in colour or sheen, especially on older paint. Recoating the whole ceiling creates a more uniform result and avoids a patchwork appearance.
Common mistakes that spoil the repair
The most common mistake is painting before the stain is dry. The second is using ordinary wall paint instead of a stain-blocking primer. Both may hide the mark briefly, but neither deals with the reason stains return.
Another issue is skipping cleaning. Ceiling stains can collect dust and residue, while kitchen or bathroom marks may include grease, steam residue or mould. Primer needs a clean, stable surface to adhere properly.
Finally, avoid applying paint too heavily to make one coat cover everything. Thick coats can sag, take longer to cure and still fail to stop bleed-through. Controlled application, suitable drying time and a proper paint system deliver a much better finish.
When to call a professional painter
A small, old stain from a confirmed and repaired leak may be manageable for a confident property owner. However, professional help is worthwhile when the stain keeps returning, covers a large area, involves damaged plaster or timber, or appears on a high ceiling where access is difficult.
It is also a sensible choice for rental properties, businesses, schools and places of worship where presentation and minimal disruption matter. An experienced painter can assess the surface, carry out minor repairs, select the right primer and repaint the area with clean edges and consistent coverage.
At Seaview Painting Services, preparation is treated as part of the job, not an afterthought. That includes washing, sanding, filling, gap sealing, priming and addressing minor damage where needed before the final coats are applied.
A water stain is worth taking seriously, even when it looks minor. Fix the moisture source, allow the surface to dry, use the right stain-blocking primer and give the finish the preparation it needs. The result is not just a cleaner-looking wall or ceiling, but a repaint that has a far better chance of staying that way.