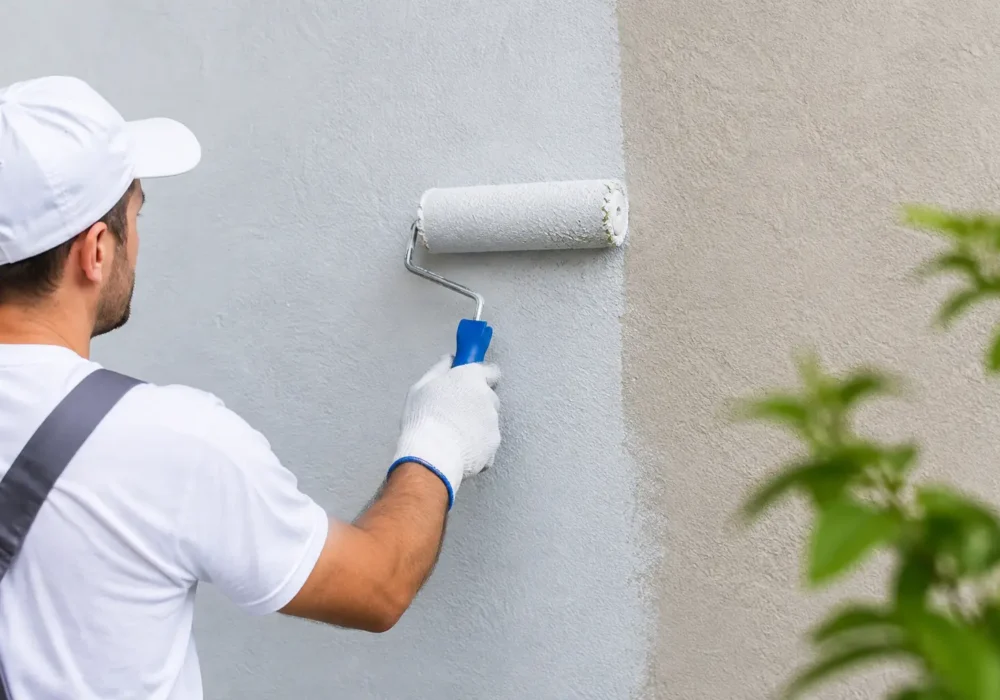
A rendered wall can look solid and low-maintenance, but the finish is only as reliable as the surface beneath it. This guide to painting rendered walls is designed for property owners who want a clean, even result that stands up to Victorian weather, moisture, sun and everyday wear – not a fresh coat that starts peeling or showing cracks within a season.
Rendered brick, blockwork and cement sheet surfaces need more than a quick wash and a tin of exterior paint. The right process depends on the age of the render, whether it has been painted before, the condition of the coating and the cause of any cracking or staining. Good preparation takes time, but it is what gives the finished paintwork its life.
Start by identifying the render and its condition
Most external rendered walls are cement render, although acrylic render is also common on newer homes and renovations. Cement render is hard and durable but can develop fine cracking as the building moves or as the surface ages. Acrylic render has more flexibility, yet it can still suffer from poor adhesion, impact damage, trapped moisture and failed earlier coatings.
Before painting, inspect the wall in daylight. Look closely around windows, doors, downpipes, garden beds and wall junctions. These are common places for water to enter, dirt to collect and cracks to form. Run a hand over the surface as well. A chalky, powdery residue may mean the existing paint has broken down and will need more thorough preparation.
Not every crack is a painting issue. Fine, stable hairline cracks can usually be prepared and filled as part of the painting work. Wider cracks, recurring cracks or cracks that run through brickwork may point to movement or another building issue. Painting over these without addressing the cause may make the wall look better temporarily, but the crack can return through the new finish.
Cleaning is not an optional step
Exterior render holds more grime than many people expect. Dust, cobwebs, mould, airborne pollutants and salt residue can all reduce paint adhesion. In coastal and bayside areas, regular washing is especially worthwhile because salt-laden air can settle on exterior surfaces even when it is not obvious.
A controlled pressure wash is often the most effective starting point. The pressure must suit the surface: too aggressive, and it can damage weak render, force water into cracks or strip loose areas more broadly than intended. A gentler wash with a suitable cleaner may be the better option on older, brittle or previously patched walls.
Mould and algae need treatment, not just removal. If the wall has green or black growth, especially on shaded elevations, use an appropriate exterior cleaning treatment and allow it to work as directed. Simply painting over biological growth creates a poor surface for the coating and can allow stains to reappear.
After washing, allow the wall to dry properly. The required drying time depends on the weather, render thickness and how much water the surface has taken in. Painting damp render can trap moisture behind the coating, leading to blistering, peeling or discolouration later. A wall that feels dry on the face may still be holding moisture in deeper cracks or porous sections.
Repair cracks, holes and failed areas before priming
The most polished paint finish cannot hide poor repairs. Remove flaking paint and loose render until you reach a sound edge. Any hollow, drummy or crumbling render should be assessed before coating, as paint cannot stabilise a surface that is no longer properly bonded to the wall.
Fine cracks can be opened slightly where needed, cleaned out and repaired with a flexible exterior-grade filler or crack repair compound suited to rendered surfaces. Larger holes and damaged sections usually need a compatible patching product, applied in layers if depth is required. Once cured, repairs should be sanded or rubbed back carefully so they blend into the surrounding texture.
Gaps around window frames, doors, pipes and other penetrations also deserve attention. Flexible exterior sealant helps close these vulnerable edges while allowing for normal movement. It should not be used as a substitute for repairing failed render, but it is an important part of keeping water out of junctions.
Efflorescence needs particular care. This is the white, powdery salt deposit that can appear on masonry and render when moisture carries salts to the surface. Brush it away thoroughly and investigate the moisture source before painting. If water is continually entering from a leaking gutter, failed flashing, plumbing issue or poor drainage, the paint system will be under pressure from day one.
Choosing the right primer for rendered walls
Primer is where many exterior paint jobs either gain durability or lose it. Bare, patched or porous render needs a suitable masonry sealer or primer to bind the surface and provide an even base for topcoats. Without it, the wall may absorb paint unevenly, leaving patchy sheen, colour variation and weaker adhesion.
Previously painted render may not need full priming if the old coating is sound, clean and compatible with the new paint. However, spot priming repairs and bare areas is still necessary. If the existing coating is chalky, very weathered or of unknown quality, a binding primer can be the safer choice.
The primer must match both the substrate and the chosen topcoat. Exterior coating systems are designed to work together, and substituting products without checking compatibility can cause problems. This is also why a small test area can be useful on older properties where several layers of paint may already be present.
A guide to painting rendered walls for lasting protection
For most homes, a premium exterior acrylic paint is a practical choice for rendered walls. Quality acrylic coatings offer good colour retention, weather resistance and enough flexibility to accommodate minor surface movement. On walls with persistent fine cracking, a specialist elastomeric or membrane-style coating may be worth considering, provided the render is otherwise sound and the product is suitable for the building.
Colour choice matters beyond appearance. Dark colours absorb more heat, which can increase thermal movement and place more stress on render, particularly on broad north- and west-facing walls. A deep charcoal feature wall can look excellent, but it needs the right surface condition, coating system and realistic expectations in exposed locations.
Apply paint in the conditions recommended by the manufacturer. Avoid painting in rain, heavy wind, extreme heat or when the wall is hot in direct sun. These conditions can cause rapid drying, lap marks, poor flow and reduced film formation. Weather can change quickly around Geelong, the Bellarine and the Surf Coast, so timing the work properly is part of a professional result.
Cut in carefully around trims, fixtures and edges, then maintain a wet edge across larger sections to avoid visible overlaps. Roller nap should suit the render texture: a very smooth roller may miss low points on coarse render, while an overly thick nap can leave excessive texture on a fine finish. Two full coats are generally required for consistent coverage and protection, with the correct recoat time allowed between them.
Do not judge coverage solely by whether the old colour has disappeared. Look across the wall from different angles once the paint has dried. Thin areas, missed texture, flashing around repairs and uneven sheen are easier to see in changing light than they are while the coating is wet.
Common shortcuts that lead to early paint failure
Painting straight over chalky render is one of the most common mistakes. The new paint adheres to the powder rather than the wall, so the coating can fail even when it initially looks neat. Skipping crack repairs, using interior filler outdoors, applying paint to damp surfaces and relying on one heavy coat create similar risks.
Another issue is treating every crack with the same product. A hairline crack in stable render is different from a gap around a window frame, and both are different from a crack caused by movement in the structure. Using the right repair method gives the paint system a far better chance of performing as intended.
For landlords and commercial property managers, access and ongoing maintenance should also be considered before work begins. Walls behind dense planting, close to neighbouring boundaries or above awnings may require more planning. Clearing access, trimming vegetation and fixing drainage issues first can reduce disruption and help protect the investment in the new coating.
A freshly painted rendered wall should look even, clean and properly finished at every edge, but its real value is the protection underneath. If the surface is cracked, weathered or showing signs of moisture, taking the time to prepare it properly is the sensible next step. For homeowners and property managers who would prefer the work handled from inspection through to clean-up, Seaview Painting Services can assess the condition of the render and provide a no-obligation quote for a finish built to last.