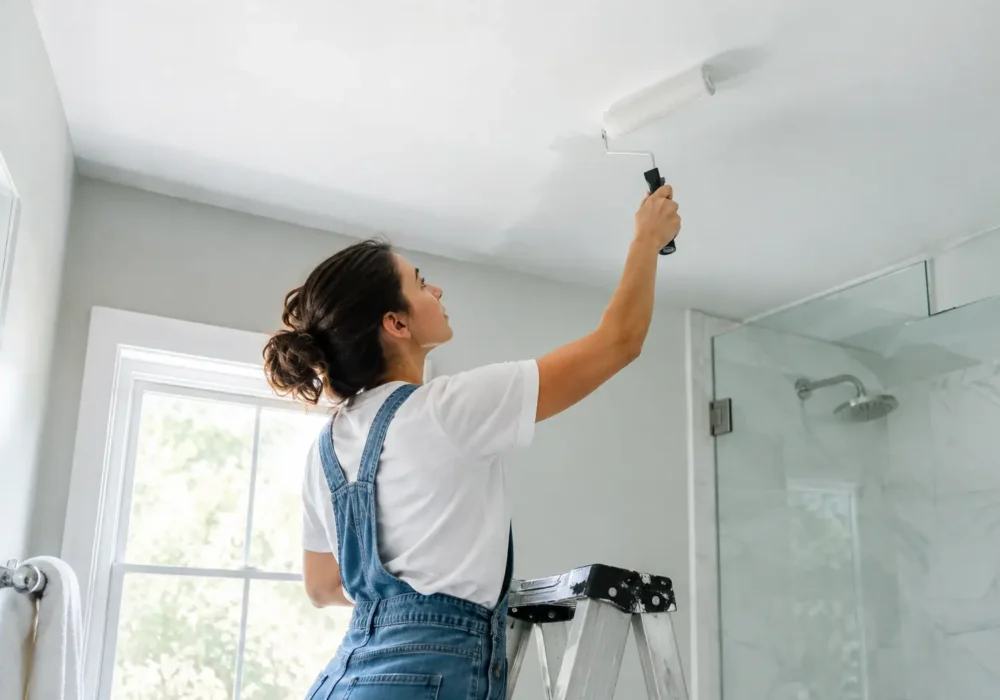
A bathroom ceiling that is peeling, marked with mildew or yellowing around the exhaust fan will not be fixed by simply rolling fresh paint over it. Knowing how to paint bathroom ceilings properly means dealing with moisture first, then preparing the surface carefully so the new coating has something sound to grip.
Bathrooms place more pressure on paint than almost any other room in the house. Steam settles on the ceiling, poor ventilation lets condensation linger, and small roof or plumbing leaks can leave stains that keep returning. A clean, well-prepared ceiling finished with the right paint will look brighter and stand up far better to daily use.
Start by finding the cause of the problem
Before moving furniture and opening paint tins, inspect the ceiling in good light. Look closely at the area above the shower, around the exhaust fan and near cornices. Small black or grey specks are often surface mould caused by condensation. Brown rings, bubbling paint or a soft plasterboard surface can point to a roof leak, leaking pipe, failed waterproofing or moisture entering from the room above.
Painting over an active leak is wasted effort. The stain may bleed through again, and paint will eventually blister or peel as the moisture continues. Have the source repaired and allow the area to dry fully before preparation begins. If plasterboard is swollen, sagging or crumbly, it may need repair or replacement rather than filler alone.
Ventilation matters just as much after the painting is finished. An exhaust fan should vent effectively outdoors, not into the roof space, and should be run during showers and for a period afterwards. Opening a window where practical also helps reduce condensation. Even premium bathroom paint will struggle on a ceiling that stays damp every day.
How to paint bathroom ceilings: choose materials wisely
The best finish depends on the existing surface and the condition of the room, but a quality bathroom or kitchen-and-bathroom ceiling paint with mould resistance is usually the sensible choice. These paints are designed to cope better with humidity than standard interior ceiling paint. Choose a white or off-white shade to keep the room feeling clean and to make moisture marks easier to spot early.
A flat finish hides minor surface imperfections well, which is useful on older ceilings. However, in a bathroom with regular heavy steam, a low-sheen moisture-resistant paint may be easier to wipe down and offer greater durability. Check that the product is suitable for ceilings, particularly if you are considering a wall paint with a sheen level.
You will also need a stain-blocking primer for water marks, nicotine staining or repaired areas; sugar soap or a suitable pre-paint cleaner; mould treatment; fine sanding paper; gap filler or patching compound; a quality brush; a roller frame and extension pole; and roller covers suited to a smooth ceiling. A drop sheet, painter’s tape and safety glasses will make the work cleaner and safer.
Do not rely on paint labelled mould-resistant to kill existing mould. It helps protect the finish once the surface is clean and dry, but live mould must be treated first.
Prepare the ceiling thoroughly
Remove or cover what you can, including towels, bath mats and personal items. Protect the floor, vanity and shower screen with drop sheets. If practical, remove the exhaust fan grille and light fittings only after switching off the relevant power circuit. When in doubt, leave electrical work to a licenced electrician.
Wash the ceiling to remove soap residue, grease, dust and airborne grime. In many bathrooms, a light clean with sugar soap solution followed by a wipe with clean water is enough. Avoid soaking plasterboard. The aim is to clean the surface, not saturate it.
Treat visible mould with a purpose-made mould cleaner according to the label directions. Wear gloves, eye protection and a suitable mask, keep the room ventilated, and never mix cleaning chemicals. Once treated, wipe the surface clean and let it dry completely. If mould covers a large area or keeps returning despite good ventilation, it is worth investigating the moisture issue before painting.
Scrape away all loose or flaking paint with a paint scraper. Sand the edges of sound paint so there is no hard ridge between old and bare areas. For glossy or previously painted ceilings in good condition, a light overall sand gives the new coating better adhesion. Vacuum or wipe away the sanding dust before moving on.
Fill fine cracks, small dents and nail holes with a suitable interior filler. Once dry, sand the repairs smooth and dust them off. Run a paintable flexible gap sealant along small gaps where the ceiling meets the cornice if they are open or cracked. This gives a neater result and helps prevent shadow lines from spoiling a freshly painted ceiling.
Prime stains, repairs and bare surfaces
Primer is the step most often skipped, and it is often the reason marks return through an otherwise good paint job. Apply a stain-blocking primer over water stains, smoke marks, repaired sections and any exposed plasterboard or patching compound. Some stains need two thin coats of primer, particularly if they are dark or old.
Let the primer dry for the full time recommended on the tin. Rushing this stage can trap moisture or reduce the effectiveness of the stain block. If a water stain reappears through the primer, stop and confirm that the original leak has been resolved before applying further coats.
For a ceiling that is sound, clean and uniformly painted, a full prime coat may not be necessary. Spot priming repairs and stains is generally enough. On a badly discoloured, chalky or extensively repaired ceiling, priming the whole surface creates a more even base and helps the topcoat look consistent.
Apply the paint in a steady sequence
Stir the paint thoroughly, including from the bottom of the tin, rather than shaking it. Start by cutting in around cornices, light fittings, vents and corners with a quality brush. Keep this band manageable, then roll the adjoining section while the brushed edge is still wet. This reduces visible lap marks.
Use an extension pole to roll the main ceiling from the floor. Work in sections, loading the roller evenly and applying paint in overlapping passes. Roll in one consistent direction for the final pass across each section, usually toward the main source of natural light. Do not overwork paint as it begins to dry, as this can leave a patchy or stippled finish.
Most bathroom ceilings need two full coats for reliable coverage and durability, even if the first coat appears solid. Allow each coat to dry as directed by the manufacturer. Humid weather, cold rooms and limited airflow can extend drying times, so avoid scheduling the job immediately before a busy household needs multiple showers.
Remove painter’s tape carefully while the final coat is still slightly wet, if tape has been used. Once the ceiling is dry, inspect it from a few angles. Missed edges, thin patches near the cornice and flashing around repairs are easier to correct straight away than after the room is back in use.
Avoid the shortcuts that cause peeling
The most common mistake is painting over mould, steam residue or loose paint. Another is using leftover standard wall paint that is not suitable for a humid ceiling. Both can produce a tidy-looking result for a short time, but neither addresses the conditions that caused the damage.
Painting in a poorly ventilated bathroom can also cause problems. Give the room airflow while paint dries, but avoid creating excessive drafts that blow dust onto wet paint. Keep showers off-limits until the paint has dried and cured as recommended. Fresh paint may feel dry within hours, yet it takes longer to reach its full resistance to moisture and cleaning.
If the ceiling is high, heavily water-damaged, covered in persistent mould or connected to a larger repaint, professional preparation can save considerable time and rework. Seaview Painting Services can assess the cause, complete repairs and preparation, and apply a durable finish with minimal disruption to your home.
A bathroom ceiling should not be something you repaint every year. Take the extra time to clean, repair, prime and ventilate properly, and the result will be a brighter room that stays fresh long after the brushes are washed.