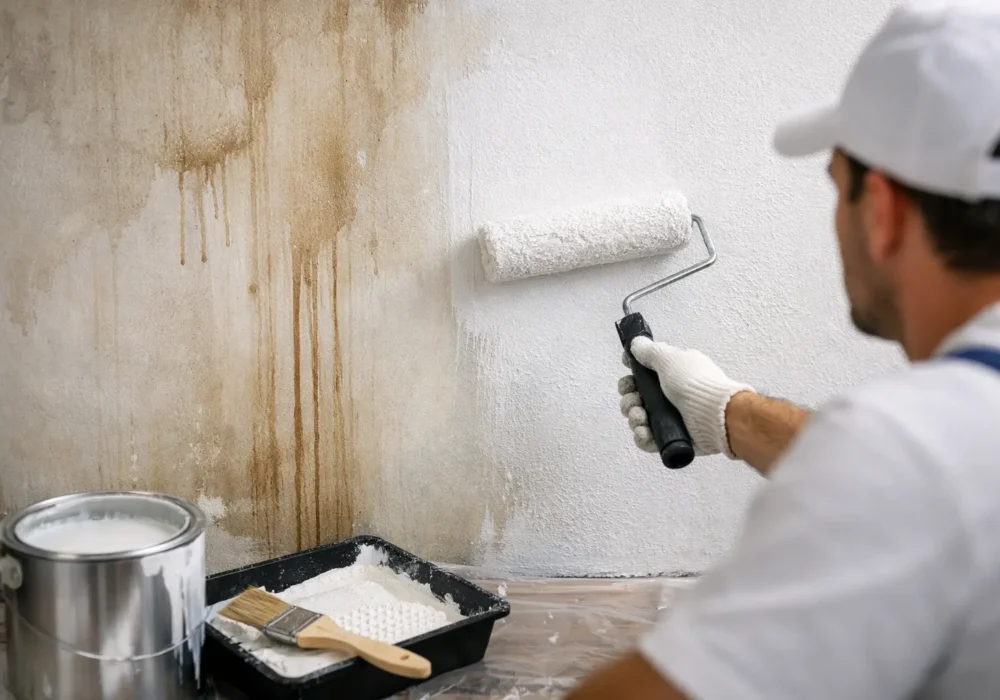
A brown water mark can look harmless once it has dried, but painting straight over it is one of the quickest ways to spoil a fresh interior repaint. Knowing how to prime stained walls means dealing with the cause, preparing the surface properly and choosing a primer that can stop the stain from travelling back through the new paint.
Whether the mark comes from a small roof leak, a smoker’s room, a cooking splash or an old picture hook, the aim is the same: create a sound, sealed surface so the topcoat looks even and stays that way. Good priming is not an optional extra. It is the preparation step that protects the finish you are paying for.
Start by finding out what caused the stain
Before reaching for primer, make sure the issue that caused the stain has been fixed. A water stain may point to a leaking roof, plumbing issue, failed flashing or condensation. If the wall is still damp, priming will only conceal the symptom temporarily. The stain can return, paint can blister, and mould may develop behind the coating.
Give the area time to dry fully once the repair is complete. In some cases, particularly after a significant leak, this can take several days. If plasterboard is soft, swollen, sagging or crumbling, replacement or patch repair may be needed before any painting begins.
Other stains need their own approach. Nicotine and smoke residue can cover more of the wall than is immediately obvious, often leaving a yellow or grey film across ceilings, cornices and trims. Grease near cooktops, crayons in children’s rooms, ink, mould and tannin marks from timber each call for thorough cleaning before primer is applied. Primer is designed to block staining, not to bond over dirt, grease or loose material.
Clean, repair and sand the wall first
Surface preparation determines whether primer adheres properly. Start by protecting the floor and nearby furnishings, then remove dust, cobwebs and loose paint with a soft brush or vacuum. Wash the stained area and a generous section around it using sugar soap or a suitable wall cleaner. Rinse away cleaner residue with clean water, then allow the surface to dry completely.
For greasy stains, repeat the wash rather than applying a heavier coat of primer over residue. For mould, use an appropriate mould treatment and follow its directions carefully. Do not simply wipe mould away with a damp cloth, as this can spread spores across the surface.
Once dry, scrape any lifting paint and sand rough edges so they feather smoothly into the sound coating. Fill small dents, cracks and old fixing holes with a quality filler. After the filler has dried, sand it smooth and remove all sanding dust. If you are working on a much older property with unknown paint layers, take care when sanding. Seek advice before disturbing paint that may contain lead.
A wall does not need to be stripped back to bare plaster for every stain. It does, however, need to be clean, dry, firm and dull enough for the primer to grip. Glossy patches should be lightly sanded, while chalky or powdery surfaces need extra attention so the new coating is not attached to a weak layer.
How to prime stained walls with the right product
The best primer depends on the stain, not just the colour of the wall. A standard water-based undercoat can be suitable for minor repairs and uniform colour changes, but it may not stop a stubborn brown or yellow mark from bleeding through. This is where a dedicated stain-blocking primer earns its place.
Oil-based stain blockers are a dependable choice for many water stains, nicotine marks, tannins and general discolouration. They seal well and are widely used beneath water-based topcoats, but they have a stronger odour, require solvent clean-up and take longer to dry than water-based products. Good ventilation is essential.
Shellac-based primers are particularly effective on severe nicotine, smoke, water and tannin stains. They dry quickly and offer impressive stain blocking, although the smell can be strong and the working time is shorter. They are often best reserved for targeted problem areas or rooms where persistent staining has defeated ordinary primers.
Water-based stain-blocking primers are lower odour and easier to clean up, making them a practical option for light staining and occupied homes. Quality varies, though. For a serious ceiling water mark or a wall affected by smoke, a water-based primer may need more than one coat or may not be the best choice at all.
If you are unsure, test the primer on a small stained section first. Let it dry fully, then apply a sample of the intended topcoat. If the mark shows through after drying, apply a second coat of stain blocker or move to a stronger primer before painting the whole wall.
Apply primer evenly, without spreading the problem
Stir the primer thoroughly and cut in around the stained section with a quality brush. Use a small roller to coat the broader area, working out beyond the visible mark. This prevents a hard, obvious patch from showing through the finished paint, especially on flat walls with natural light falling across them.
Do not apply primer too heavily in the hope of covering the stain in one pass. A smooth, even coat performs better than a thick coat that drips, dries unevenly or leaves roller texture. Follow the manufacturer’s coverage and drying instructions, as conditions such as cold weather, humidity and poor airflow can extend drying times.
For a small, isolated stain, spot priming may be enough. The trade-off is that spot-primed areas can flash, meaning they reflect light differently from the surrounding wall after painting. This is most noticeable with low-sheen paint, darker colours and large light-filled rooms. Priming the entire wall is often the better option when stains are widespread, repairs are numerous or you want the most consistent finish.
Ceilings deserve particular care. Water stains on a ceiling can be more visible after repainting because ceiling paint is usually very flat. Prime well beyond the stain, allow it to dry, and inspect from different angles before applying the final coats.
Let it dry, inspect it, then apply the topcoat
Once the primer is dry, check for bleed-through in good natural light. A stain blocker can look slightly translucent while wet, so judge it only after the recommended drying period. If any yellowing or brown shadow remains, apply a second coat and allow that to cure before proceeding.
When the stain is sealed, apply two even coats of quality interior wall or ceiling paint. Two topcoats provide more reliable colour consistency and washability than one heavy coat. Keep a wet edge as you roll, use the correct nap roller for the surface, and allow the stated recoat time between coats.
It is tempting to use ceiling white or wall paint as a substitute for primer, especially when the stain appears faint. That shortcut commonly leads to repeat work. Paint provides colour and finish; primer creates adhesion and, when selected correctly, stops stains from migrating into the paint film.
When a stained wall needs professional attention
Call in a painter or repair professional if the stain keeps returning, the wall feels damp, mould covers a sizeable area, or plasterboard has been damaged by water. The same applies to extensive smoke contamination after a fire, severe nicotine staining, or large commercial spaces where downtime needs to be kept to a minimum.
For homeowners and property managers, professional preparation can save time and avoid the frustration of repainting a room twice. Seaview Painting Services assesses the surface condition first, carries out the necessary preparation and minor repairs, and selects coatings suited to the stain and the room.
A clean paint finish begins well before the first colour coat goes on. Fix the source of the stain, allow the surface to dry, use a genuine stain-blocking primer and give each coat the time it needs. That careful approach keeps the wall looking freshly painted long after the drop sheets have been packed away.