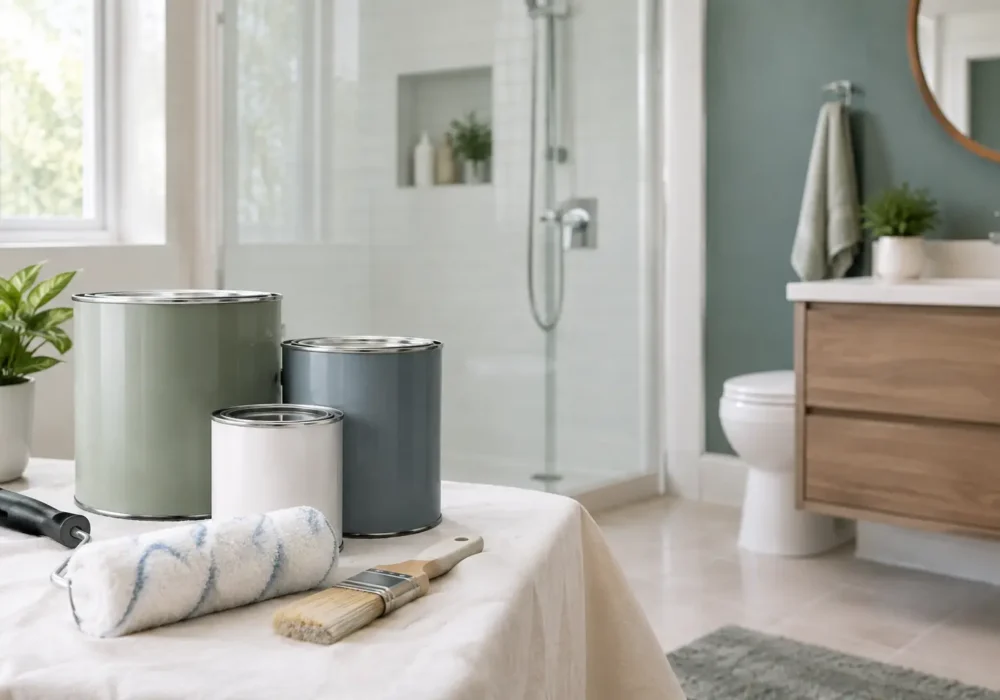
A bathroom can look freshly painted on Friday and show early trouble within months if the wrong coating or preparation is used. When people search for the best paints humid bathrooms can handle, the answer is not simply the most expensive tin on the shelf. A lasting finish relies on a moisture-resistant paint system, the right sheen level, a sound surface and enough ventilation for the room.
Steam settles on ceilings, walls and trim after every shower. Over time, that moisture can feed mould, soften poorly bonded paint and expose old patching or stained areas. Choosing the right paint is worthwhile, but it needs to be paired with careful surface preparation and proper drying conditions.
What makes bathroom paint different?
Bathroom paint is designed to cope with frequent condensation, cleaning and temperature changes. Quality interior bathroom and kitchen paints generally use a tougher acrylic formulation than standard wall paint. Once cured, they form a more washable, moisture-resistant surface that is less likely to absorb steam or hold grime.
Many are also formulated with mould-resistant properties. This helps reduce surface mould growth, particularly on ceilings and external walls that stay cool. It is not a substitute for cleaning or ventilation, however. If a bathroom has a failed exhaust fan, persistent leak or heavy condensation, mould can return over any coating.
For most homes, a premium water-based acrylic bathroom paint is the practical choice. It has low odour, dries relatively quickly, cleans up with water and offers good colour retention. Oil-based paints can still be useful on some timberwork, but they yellow over time in low-light areas and are usually less convenient for broad bathroom walls and ceilings.
Best paints for humid bathrooms: choose the right sheen
Sheen matters as much as the paint label. Higher-sheen finishes are generally harder and easier to wipe, but they also show uneven walls, roller marks and imperfect repairs more readily. The best option depends on where the paint is going.
Walls: low sheen or satin
A quality low-sheen bathroom paint is a popular choice for walls. It has a soft finish that suits most homes while providing more washability than flat paint. In a well-ventilated family bathroom, it is usually a good balance between appearance and durability.
Satin is slightly glossier and offers stronger moisture resistance and easier cleaning. It can be a sensible choice for bathrooms with frequent showers, children’s bathrooms or rental properties where walls are likely to be wiped often. The trade-off is that satin will highlight poor sanding, dents and uneven plaster, so preparation needs to be thorough.
Ceilings: mould-resistant flat or low sheen
Ceilings receive the brunt of rising steam. A dedicated mould-resistant ceiling paint in a flat or low-sheen finish helps keep glare down while protecting the surface. Flat finishes are particularly forgiving on older ceilings, but they must be specifically rated for bathrooms. Ordinary flat ceiling paint can absorb moisture and become difficult to clean.
If a ceiling has existing mould staining, simply painting over it is not enough. The cause needs attention first, then the surface should be properly cleaned, treated where required and sealed with the appropriate primer before topcoats are applied.
Doors, skirting boards and window trims: semi-gloss
Semi-gloss is a dependable choice for bathroom doors, architraves, skirting boards and window trims. These areas are touched, knocked and wiped regularly, and a higher sheen gives them a durable, cleanable finish. Water-based enamel is often preferred for its lower odour and faster recoat times, while still providing a hard-wearing result when applied over correctly prepared surfaces.
Do not paint over the reason the paint failed
Peeling, bubbling and mould are usually symptoms, not the main problem. Before repainting, identify what has caused the damage. It could be shower steam with no extraction, a leaking shower screen, failed silicone, a roof or plumbing leak, or paint applied to a damp surface.
An exhaust fan should vent moisture effectively outside, not into the roof cavity. Opening a window after showering can also help, but it may not be enough in winter or in bathrooms without good cross-ventilation. If condensation forms heavily on mirrors, windows and walls every day, improving airflow will protect the new paint job far more effectively than changing to a glossier finish alone.
Leaking grout, cracked tiles and deteriorated sealant also need to be repaired. Paint is not a waterproofing membrane, and it cannot solve moisture coming through a wall or from behind a shower. Areas inside a shower enclosure require suitable tiles or waterproof wall linings, not standard interior paint.
Preparation is what gives bathroom paint its staying power
Even the best bathroom coating will struggle over soap residue, loose paint, powdery walls or old mould. Preparation is where a professional finish starts.
First, clean the surfaces thoroughly to remove body oils, hairspray, soap film and general grime. Mould should be treated carefully using an appropriate mould-cleaning product, following the manufacturer’s safety directions. Wear suitable protective equipment, keep the room ventilated and allow the surface to dry completely.
Next, scrape any loose or flaking paint and sand the edges smooth. Glossy painted surfaces should be lightly sanded to create a key for the new coating. Cracks, dents and small damaged sections can then be filled, sanded and dusted down. Gaps around trims may need flexible sealant, particularly where movement could otherwise crack the paint line.
Stains, water marks, exposed plaster repairs and bare timber often require a suitable primer or sealer. This is an easy step to skip, but it prevents patchiness, staining and adhesion problems later. If the existing coating is failing extensively, it may need more than a light sand before repainting. In some cases, removing unstable paint and priming the exposed substrate is the only reliable approach.
Application tips that make a real difference
Bathroom painting should be scheduled when the room can remain dry and well ventilated. Avoid painting straight after long showers or on surfaces that feel cool and damp. A coating may look dry to the touch while moisture remains trapped beneath it.
Use the full paint system recommended for the surface: suitable primer where needed, followed by the specified number of topcoats. Two even coats generally provide better film build, colour consistency and moisture resistance than one heavy coat. Allow each coat to dry for the recommended time, and remember that curing takes longer than drying.
Do not return the room to full use too quickly. Running hot showers immediately after painting can introduce heavy steam before the coating has hardened. Where possible, give the paint several days to cure and keep the exhaust fan running during and after showers once the bathroom is back in use.
Common bathroom paint mistakes
The most common mistake is using ordinary interior wall paint because there is some left over from another room. It may match the colour, but it may not withstand frequent moisture or cleaning. Another is choosing a very glossy paint to hide moisture concerns. Gloss improves wipeability, yet it can make old plaster, poor patching and roller texture stand out.
Painting over mould without cleaning and resolving the moisture source is also a short-term fix. So is applying new paint over peeling areas without removing loose material or priming bare patches. These shortcuts often lead to another repaint much sooner than expected.
Colour selection deserves some thought as well. Whites and pale neutrals keep smaller bathrooms feeling open, but bright white can look stark under cool LED lighting. Testing a sample in the room at different times of day is worthwhile, especially where tiles, benchtops and existing cabinetry cannot be changed.
When it is worth calling a professional painter
A small, sound bathroom can be a manageable repaint for a confident homeowner. But if there is widespread peeling, repeated mould, water staining, damaged timber trims or uncertain paint history, professional assessment can save time and wasted materials. The surface may need repairs, specialised priming or a more detailed preparation process than it first appears.
For homeowners, landlords and property managers across Wyndham, Hobsons Bay, Greater Geelong, the Bellarine Peninsula and Surf Coast, Seaview Painting Services can prepare and repaint bathroom surfaces with attention to the details that affect longevity. That includes cleaning, sanding, filling, sealing gaps, priming and repairing minor damaged trim before the finishing coats are applied.
A bathroom finish should feel clean, calm and easy to maintain, not like another job waiting to be redone. Choose a quality moisture-resistant coating, address the cause of excess damp and give the preparation the time it deserves. The result is a room that continues to look cared for long after the paint has dried.