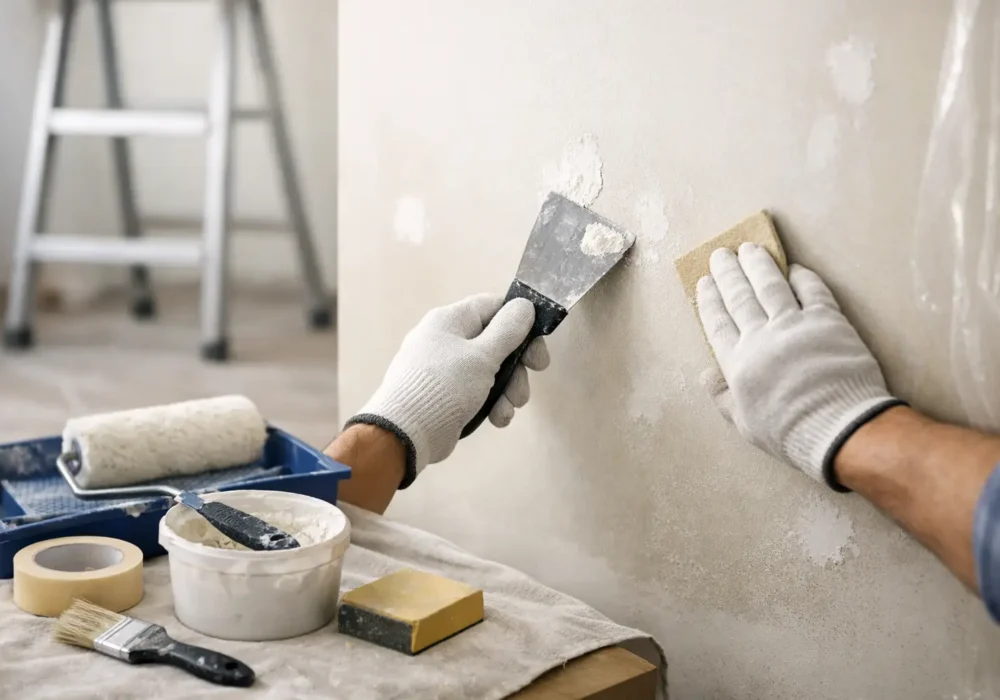
A fresh coat of paint can transform a room, but paint will only look as good as the surface beneath it. Small dents, greasy marks, loose paint and unsealed gaps can all show through a new finish – especially in rooms with plenty of natural light. Taking the time to understand how to prepare walls for painting helps prevent peeling, patchy colour and an uneven result.
For homeowners, landlords and commercial property managers, proper preparation is where a professional painting job begins. It is also the stage that determines how well the finish will stand up to daily use, moisture, sunlight and regular cleaning.
Start by assessing the wall condition
Before moving furniture or opening a paint tin, inspect each wall in good light. Walk slowly around the room and look across the surface from an angle. This makes dents, raised patches, cracks and lap marks easier to spot than looking straight at the wall.
Pay close attention to high-contact areas around light switches, doorways, hallways and furniture. Kitchens may have cooking residue, bathrooms can have moisture damage, and children’s bedrooms often have scuffs, stickers or blu-tack marks. In older homes, look for flaking paint, hairline cracks and areas where previous repairs are visible.
Not every imperfection needs major repair. A minor nail hole is straightforward, while bubbling paint or recurring cracks may point to an underlying issue such as moisture, movement or poor adhesion. Painting over the symptom without addressing the cause can lead to the same problem returning.
Protect the room before preparing walls
Preparation can be dusty, so clear the room where possible. Move larger furniture to the centre, cover it with clean drop sheets and protect floors with canvas or heavy-duty coverings. Canvas is generally more secure underfoot than thin plastic, which can shift and become slippery.
Remove artwork, curtain fittings where practical, switch plates and vent covers. Turn off power at the relevant circuit before removing electrical faceplates, and keep screws together so they are easy to reinstall later. Mask skirting boards, window frames and other trim only after surfaces have been cleaned and allowed to dry.
A tidy work area makes the process safer and helps achieve crisp edges. It also reduces the chance of dust or filler ending up in wet paint.
Clean walls thoroughly
Paint needs a clean, sound surface to bond properly. Dust may not be obvious, but it can prevent paint from adhering evenly. Grease and household residue are even more troublesome, particularly on kitchen walls, near heaters, or in frequently used living areas.
Start by brushing down cobwebs and loose dust, then wipe walls with a soft cloth or sponge. For most interior walls, warm water and sugar soap or a suitable wall-cleaning product will remove grime effectively. Work from the bottom upwards to reduce drip marks, then rinse with clean water where required by the product instructions.
Do not saturate plaster walls. A damp cloth is enough. Let the surface dry fully before sanding, filling or priming. In bathrooms, laundries and other damp spaces, any mould should be treated with an appropriate mould-removal product first. If mould keeps returning, investigate ventilation or water ingress before repainting.
Be careful with old or damaged coatings
If paint is chalky, peeling or blistering, washing alone will not fix it. Scrape away loose material until you reach a firm edge, then sand the transition smooth. If the old paint is failing across large areas, more extensive removal and priming may be needed.
For homes built before the late 1970s, take extra care around old paintwork. Lead-based paint may be present, particularly on heritage homes, weatherboards, doors and trims. Avoid dry sanding or scraping suspected lead paint without the right precautions. This is a situation where professional advice is worthwhile.
Repair holes, cracks and gaps
Once the wall is clean and dry, repair the defects that will catch the eye after painting. Use a quality interior filler for small nail holes, dents and shallow cracks. Press it firmly into the damaged area with a filling blade, slightly overfilling where needed because filler can shrink as it dries.
Larger holes or damaged plasterboard may need mesh tape, patching compound or a more involved repair. A repair that is not properly supported can crack again, particularly near doors or areas affected by building movement.
Gaps between walls and trim, skirting boards, architraves or window frames should be sealed with a flexible paintable gap sealant. This is different from filler. Filler is designed for holes in flat surfaces, while flexible sealant accommodates small movements between different materials. Allow both products to cure as directed before sanding or painting.
Sand for a smooth, even surface
Sanding does two jobs: it smooths repairs and creates a light key for the next coat of paint. Use fine to medium-fine sandpaper for most interior walls. The goal is not to sand aggressively through sound paint, but to remove rough edges, level filler and dull glossy patches.
Sand repaired areas until they feel flush with the wall. Run your hand gently across the surface – fingertips will often find a raised edge before your eyes do. Feather the surrounding paint so there is no obvious ridge where the repair ends.
Glossy or semi-gloss painted walls need special attention. Paint can struggle to adhere to a shiny surface unless it has been thoroughly cleaned and lightly sanded, or treated with a suitable bonding primer. The right approach depends on the existing coating and the paint system being used.
After sanding, vacuum the walls, skirting boards and floor edges. Follow with a clean microfibre cloth or tack cloth to remove fine dust. Skipping this step is a common reason a newly painted wall feels gritty.
Prime where the surface calls for it
Primer is not always required for a sound wall that is being repainted in a similar colour using a quality paint system. However, it is essential in several common situations: bare plasterboard, fresh filler, stains, repaired areas, major colour changes, water marks and surfaces with uncertain adhesion.
Spot-priming repairs helps even out porosity, so patched areas do not absorb paint differently from the rest of the wall. For broad repairs or bare plaster, a full primer coat usually gives a more consistent finish.
Stains from water, nicotine, smoke, tannin or cooking residue may bleed through ordinary wall paint. Use a suitable stain-blocking primer rather than applying extra topcoats and hoping the mark disappears. Water stains should also be traced back to their source. A roof leak, plumbing issue or failed seal needs repair before painting begins.
Final checks before the first coat
Good lighting makes the final inspection much easier. Shine a work light along the wall at a low angle and check for missed dents, sanding scratches, rough filler or open gaps. Address these now, because they are far more noticeable once the paint has dried.
Make sure the room is dry, reasonably clean and well ventilated. Avoid painting in very cold, damp conditions or when moisture is present on the wall. Give primer, filler and sealant the drying time they need. Rushing this stage can compromise an otherwise careful job.
When preparing walls for painting in a lived-in home, it also helps to plan around the household. Keep pathways clear, contain dust, and allow enough time for surfaces to dry before putting the room back together. For commercial spaces, preparation should be coordinated around trading hours, access requirements and the people using the building.
A well-prepared wall does not simply make fresh paint look better on day one. It gives the coating the clean, stable base it needs to last. If the job involves widespread damage, recurring paint failure, moisture concerns or detailed repairs, an experienced painter can identify what needs attention and handle the preparation as carefully as the final coat. Seaview Painting Services provides thorough surface preparation and quality finishes for homes and workplaces across Melbourne’s west, Geelong and surrounding coastal areas.