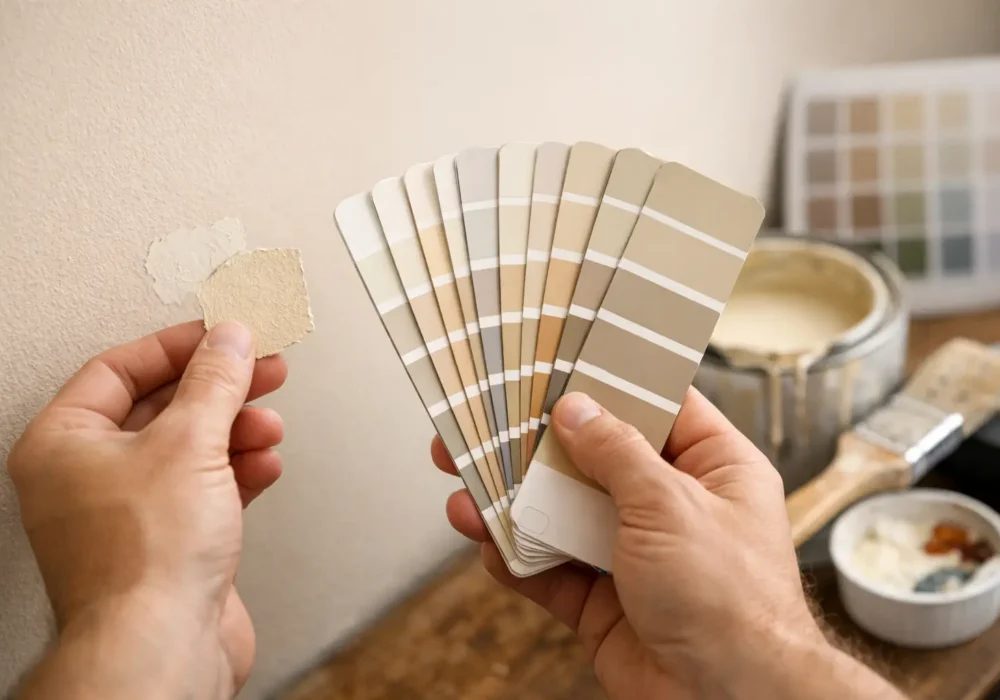
A small wall repair can become far more noticeable than the original damage when the touch-up paint is even slightly wrong. A colour that looks close in the tin may dry darker, lighter, warmer or flatter than the surrounding wall. Knowing how to colour match existing paint properly helps you avoid patchy repairs, wasted paint and the frustration of repainting more area than planned.
For homeowners, landlords and property managers, a good colour match is especially useful after minor carpentry repairs, picture-hook removal, water-damage repairs or tenant changeovers. The key is to match more than the colour itself. Paint age, sheen, lighting and surface condition all affect the final result.
Why matching existing paint is not always straightforward
Paint changes over time. Sunlight can fade exterior walls, particularly on weatherboards, doors and trim exposed to the western afternoon sun. Indoors, cooking residue, smoke, cleaning products and everyday wear can slightly alter the original appearance of a painted surface.
Even if you have the original colour name, the paint on the wall may no longer look exactly like a fresh tin. Different paint batches, paint bases and product ranges can also create small variations. This is why a colour match should be tested on the actual surface rather than judged under shop lighting alone.
Sheen is another common reason touch-ups stand out. A low-sheen wall paint and a matte wall paint can be very close in colour but reflect light differently. The same applies to satin doors, semi-gloss trims and gloss exterior timberwork. If the sheen is wrong, the repair may flash or show as a dull or shiny patch from certain angles.
Start with the best evidence you have
Before trying to match the colour, look for information left over from the original painting project. Check the garage, shed, under-stair cupboard or storage shelves for labelled tins, sample pots, invoices or colour cards. If a tin remains, check whether it is still usable. Old paint that has separated badly, smells off or contains hardened lumps is not suitable for a quality repair.
A label may list the paint brand, product line, colour name, tint formula and sheen. The tint formula is particularly helpful, but it is still wise to test a small sample because the existing paint may have aged.
If there is no paint information, take a clean sample from a discreet area. A piece around the size of a 50-cent coin is generally enough for professional colour scanning, though a larger sample can provide a more reliable reading. Behind a removable switch plate, inside a cupboard, behind a curtain or on a spare offcut are often good options.
Avoid cutting into a visible wall unless necessary. On heritage homes, older weatherboard properties and textured finishes, removing a sample can cause more damage than it solves. In these cases, a painter can assess the surface and develop a close match through sample testing.
Clean the area before judging the colour
A wall that looks cream may simply be coated in dust, cooking residue or general grime. Before deciding that the colour has changed, gently clean a small section with a suitable sugar soap solution or mild cleaner, then let it dry completely. Compare this cleaned area with the rest of the wall.
For exterior surfaces, washing can make an even bigger difference. Dirt, mould and chalking often disguise the true colour of old paint. Proper pressure washing and surface preparation are essential before any larger repaint, but take care with high-pressure cleaning on ageing timber or damaged render. The aim is to clean the surface, not force water behind it or remove sound paint.
How to colour match existing paint with a sample
A paint supplier can use a colour scanner to read a physical paint sample and create a starting formula. This is useful, but it is not a guaranteed exact match. Scanners read the colour at the surface, while the human eye notices surrounding colour, sheen and reflected light as well.
Purchase a small sample pot in the closest available product and sheen. Brush or roll it onto a test board, such as primed plasterboard or card, rather than placing the first test directly in the middle of the wall. Use two coats, allowing appropriate drying time between them. One coat can look misleading, particularly if the surface below is darker.
Hold the dried test board against the wall in several locations. Check it in morning light, afternoon light and with the room lights on at night. Stand close, then step back a few metres. A match that appears perfect at arm’s length may look noticeably different once light catches the surface.
If the test is too warm, too cool, too dark or too light, adjust the sample and test again. This process takes a little patience, but it is usually faster than repainting a wall after an unsuccessful touch-up.
Match the sheen as carefully as the colour
When people say the colour is wrong, the real problem is often the finish. Interior walls are commonly painted in matte or low sheen, while bathrooms, laundries and high-traffic commercial areas may use a more washable low-sheen or satin finish. Skirting boards, architraves, doors and window frames are often satin, semi-gloss or gloss.
Look across the painted surface from the side rather than straight on. This makes reflected light easier to see and can help identify the existing sheen. If you are uncertain, test two close sheen levels in the same colour. It is better to spend a little extra on samples than leave a visible patch on a freshly repaired wall.
Prepare the repair properly before touching up
Perfectly matched paint will still look poor over a rough repair. Fill dents, screw holes and cracks with the right filler for the surface, then allow it to dry fully. Sand the area smooth and feather the edges so there is no hard ridge between the repair and the existing paint.
Dust must be removed before painting. On timber trims or weatherboards, any bare areas should be spot-primed with a suitable primer before topcoating. Skipping primer can cause uneven absorption, staining or flashing, making the touch-up visible even with the correct colour.
For small wall repairs, lightly sanding the surrounding area can help blend the edge. Where paint is peeling, cracked, water-stained or chalky, the job is no longer a simple touch-up. The underlying cause needs attention first. That may mean repairing a leak, treating mould, replacing damaged timber, sealing stains or removing unstable paint.
Use the right application method
The tool used for the original finish matters. A roller leaves a different texture from a brush, and a touch-up applied with the wrong nap roller can be visible in raking light. For broad wall areas, use a roller that matches the existing surface texture. Use a quality brush for trims, corners and small detailed repairs.
Do not simply paint a small square over the damaged spot unless the wall finish and colour are exceptionally forgiving. Instead, feather the paint slightly beyond the repair, keeping a wet edge. On larger marks or older painted walls, repainting from corner to corner is often the cleaner option. Natural breaks, such as internal corners, doorways and window returns, help hide slight variations in colour.
This is particularly relevant for ceiling repairs. Ceiling white may look universal, but there are many whites and many sheen levels. A repair in the middle of a ceiling can catch the eye immediately, so repainting the full ceiling plane is often more reliable than chasing an invisible spot repair.
When a close match is good enough, and when to repaint
A close match can work well for a small repair in a low-traffic area, especially where the original paint is relatively new and protected from sunlight. It may also be suitable for a discreet patch behind furniture or inside a cupboard.
A full wall, trim section or facade repaint is usually the better choice when the existing paint is significantly aged, faded or marked. Exterior elevations are especially difficult to spot repair because weathering is rarely even. One side of a home may have faded much more than another, and a new patch can remain obvious despite careful colour matching.
Professional advice is worthwhile when repairs involve water damage, lead-based paint concerns in older properties, timber rot, widespread peeling, heritage finishes or commercial spaces where presentation matters. Seaview Painting Services can assess the condition of the surface, complete minor repairs and preparation, and recommend whether a precise touch-up or a larger repaint will produce the most consistent result.
A good colour match is not just about finding a similar shade. Take the time to test colour and sheen, prepare the surface properly and view samples in the light the room or exterior receives every day. That careful approach gives a repair the best chance of blending in and keeps your property looking well cared for.