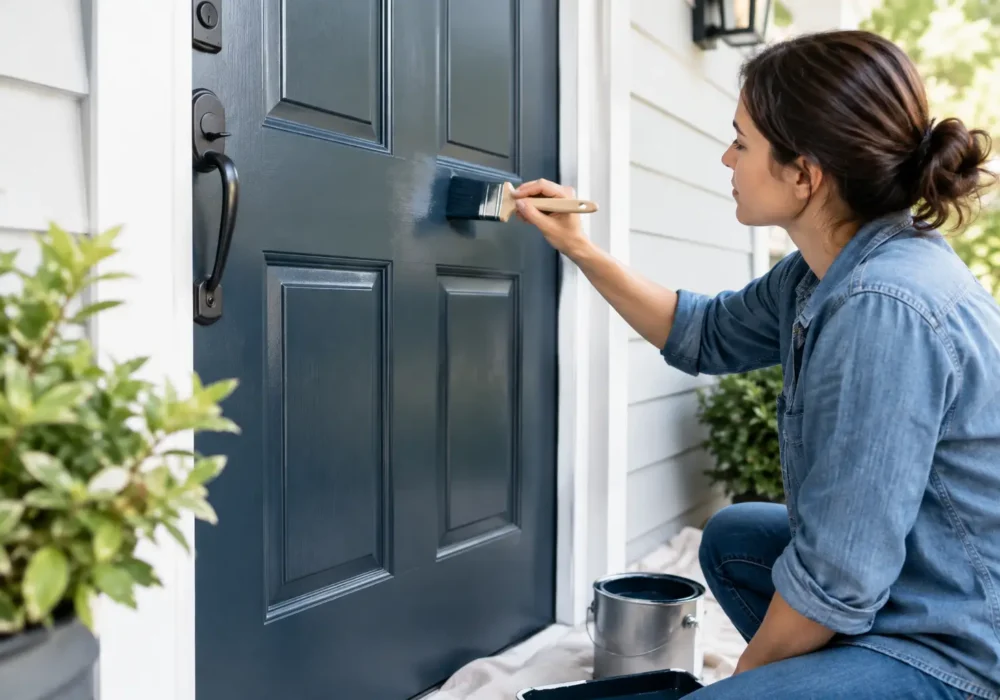
A tired front door can make an otherwise well-kept home look neglected. Learning how to repaint front door surfaces properly is less about rushing on a fresh coat and more about preparation. The right cleaning, repairs, sanding and paint system will give your entry a finish that looks sharp and stands up to sun, rain and daily use.
Your front door is one of the hardest-working painted surfaces on the property. It is handled constantly, exposed to changing weather and often sits in direct afternoon sun. Taking the time to prepare it well will make a noticeable difference to both the appearance and lifespan of the job.
Start by choosing the right day
Aim for a dry, mild day with no rain expected while the paint dries. Very hot weather can cause paint to dry too quickly, making it harder to maintain an even edge. Cold, damp conditions can slow curing and affect adhesion.
If the door receives strong sun, begin early or work when the door is shaded. It is also worth checking that the door can remain open or unused for the recommended drying period. For a busy household, removing the door and painting it on trestles can be practical, but it is not always necessary.
What you will need
For most timber or previously painted front doors, gather a quality exterior cleaner, sugar soap or mild detergent, a scraper, sanding paper in a few grits, timber filler, gap sealant where required, a suitable primer, exterior topcoat, quality brush and small roller, painter’s tape, drop sheets and clean rags.
The best paint system depends on the door material. Timber, metal and fibreglass doors each need compatible primers and topcoats. A paint shop can help identify the correct system, but take note of whether the existing coating is oil-based or water-based before choosing products. Applying a new paint type over an incompatible surface is a common cause of peeling.
How to repaint front door surfaces step by step
Remove or protect hardware
Remove the handle, lock, knocker and house numbers where possible. This gives you clean edges and avoids dried paint around the fittings. If hardware cannot be removed, mask it carefully with painter’s tape.
Lay drop sheets beneath the door to protect decking, paving or the threshold. Tape off nearby glass panels, brickwork and trim as needed, but avoid relying on tape instead of careful brushwork.
Wash away dirt and chalky paint
Exterior doors collect dust, fingerprints, cobwebs, traffic grime and residue from previous cleaning products. Wash the entire surface thoroughly, including the edges and the lower section near the threshold. Rinse where required and allow the door to dry completely.
Run your hand across the dry surface. If it leaves a powdery residue, known as chalking, it needs further cleaning and sanding before paint goes on. Paint will only adhere as well as the surface beneath it.
Check for damage before sanding
Look closely at the bottom rail, joints, mouldings and weather-exposed edges. On timber doors, these areas are often where moisture gets in first. Scrape away loose or flaking paint, fill minor holes and dents with an exterior-grade timber filler, and repair small splits before moving on.
This is also the point to assess whether the door has larger issues, such as soft rot, movement at joints or damaged glazing beads. Painting over failing timber may improve the look briefly, but it will not fix the underlying problem. Minor carpentry repairs are usually best completed before priming.
Sand for a smooth, sound base
Sand back peeling edges until they feather smoothly into the sound paint around them. Then lightly sand the rest of the door to remove gloss and give the new coating a surface to grip. Start with a medium grit where old paint is rough, then finish with a finer grit for a smoother result.
Take extra care around decorative profiles. Sanding too aggressively can remove detail, while skipping these areas leaves shiny patches where paint may not bond well. Vacuum or brush away dust, then wipe the door with a clean, damp cloth and let it dry.
Prime bare areas and repairs
Prime all bare timber, exposed metal and repaired sections with a primer designed for the substrate. If the existing finish is severely weathered or you are making a dramatic colour change, priming the whole door can provide a more even result.
Pay particular attention to the top and bottom edges of a timber door. These edges are easily overlooked, yet they are vulnerable to moisture. A properly sealed door is less likely to swell, crack or develop peeling paint around the lower section.
Apply the topcoat with care
Use a quality angled brush for panels, profiles and edges, then use a small roller across flat areas for an even finish. Work in manageable sections and maintain a wet edge so the paint blends rather than leaving lap marks.
Two topcoats are generally needed for even colour and better durability. Follow the product’s recoat times rather than judging by touch alone. Paint can feel dry on the surface but still need more time before another coat or before the door is closed.
For a traditional panelled door, paint the recessed panels first, followed by the surrounding rails and stiles. Finish with the outer edges. This approach helps you catch drips before they dry and keeps the brushwork consistent.
Choose a colour and sheen that suits the entry
A front door is a simple place to introduce personality. Deep blue, heritage green, charcoal and black can suit period homes and contemporary facades alike, while warmer reds and terracottas work beautifully with brick and timber details. The best choice depends on the surrounding exterior colours, roof, paving and amount of shade.
Dark colours make a strong statement, but they can become very hot in direct sun. On exposed timber doors, this extra heat can place stress on the coating and the timber itself. Lighter shades are often more forgiving in full sun and show less fading over time.
For sheen, a satin or semi-gloss exterior finish is usually a practical choice. It is easier to wipe clean than a flat finish and gives the door enough definition without highlighting every small imperfection. High gloss can look striking, though it demands more thorough preparation because it shows brush marks and surface flaws.
Avoid the shortcuts that lead to peeling paint
The most common front-door painting problems are usually caused by skipping preparation. Painting over dust, gloss, loose coatings or damp timber can lead to bubbling and peeling surprisingly quickly. Applying coats too thickly is another issue, particularly around mouldings and panel corners where paint can sag.
Avoid closing the door too soon as well. Fresh paint can stick to the frame or weather seals, damaging the finish just when it appears complete. If the door must be secured overnight, allow the full recommended cure time where possible and use a suitable temporary arrangement.
When it makes sense to call a professional
A straightforward door in sound condition can be a satisfying weekend project. However, a professional painter is worth considering when the door has widespread peeling, water damage, lead-based paint concerns, intricate detailing or difficult access. The same applies when the door is part of a larger exterior repaint and you want the colour, sheen and finish to match surrounding trims.
At Seaview Painting Services, careful surface preparation is treated as part of the job, not an optional extra. For homeowners across Wyndham, Hobsons Bay, Greater Geelong, the Bellarine Peninsula and the Surf Coast, a well-prepared front door can be a small update that makes the whole home feel more welcoming.
Give the finished door plenty of time to cure, then keep it looking its best with a gentle wash every few months. A little ongoing care will help your fresh paintwork stay clean, protected and ready to make a good first impression.