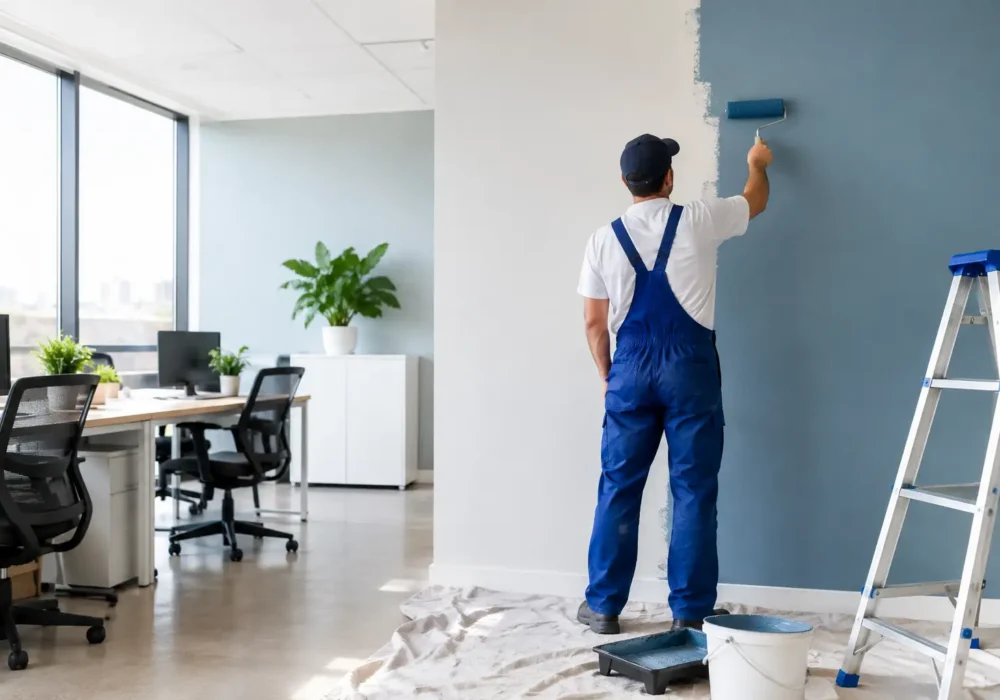
A tired office can send the wrong message before a client reaches reception or a team member sits down at their desk. This office repaint example shows how a well-planned repaint can refresh a workplace without turning normal business operations upside down.
The project is based on a typical small-to-medium office in Wyndham or Greater Geelong: several work rooms, a reception area, meeting room, hallway, kitchenette and amenities. The walls have scuff marks around doorways, patchy areas from old signage, marks behind chairs and uneven touch-ups from years of small repairs. Nothing is structurally wrong, but the space no longer looks as professional or well cared for as the business itself.
The Brief Behind This Office Repaint Example
The property manager’s goal is straightforward: improve presentation, protect the existing surfaces and keep disruption to staff and visitors to a minimum. The office is occupied during the week, so the work needs to be staged around trading hours, staff access and areas where confidential work is carried out.
A repaint is not simply a matter of changing wall colour. In a commercial setting, the finish needs to stand up to regular contact, cleaning and furniture movement. It also needs to suit the lighting, flooring, branding and purpose of each room. A bright white may make a compact reception feel cleaner and more open, but it can look harsh under cool fluorescent lighting. A darker feature wall can give a meeting room more character, yet may make a narrow space feel closed in if it is used too heavily.
For this example, the selected palette is warm off-white for the main walls, crisp white for ceilings and trims, and a muted blue-grey on one reception wall. The result is professional and welcoming without being overly corporate or difficult to maintain.
Planning the Work Around the Office
Before painting begins, a site inspection identifies the work required and the best sequence for completing it. This includes checking wall condition, access, existing coatings, damaged trim, water staining and any repairs needed around door frames or skirting boards.
The office is then divided into workable sections. Reception and meeting areas are completed after hours or over a weekend where possible, while individual offices are painted one at a time. Staff can move temporarily into another room rather than having the whole workplace disrupted at once. Clear communication matters here. Everyone should know which areas will be unavailable, when paint will be drying and when furniture can be returned.
Furniture does not always need to be removed from the building. Desks, cabinets and equipment can often be moved to the centre of the room and carefully covered, provided there is enough room to work safely and properly. Where computers, files or sensitive equipment need extra protection, it is best to discuss this before the start date so arrangements can be made without delays.
Preparation Is What Makes the Difference
The visible transformation comes from the final coats, but preparation determines whether those coats will last. Office walls collect more wear than many people realise. Hand marks around switches, chair scuffs, adhesive residue and small dents can all show through fresh paint if they are not dealt with properly.
In this project, walls are washed to remove surface grime, then sanded where needed to smooth rough repairs and remove loose paint. Holes from picture hooks, whiteboards and old wall-mounted signs are filled and sanded flush. Gaps around trims are sealed for a cleaner line, while small damage to timber trims or skirting boards is repaired before priming.
Stained areas, patched sections and bare repairs receive the appropriate primer. This step is particularly worthwhile where a darker colour is being covered or where previous touch-ups have left different levels of sheen across a wall. Skipping primer can save time at first, but it often creates an uneven finish that becomes obvious once the room is fully painted.
Door frames and skirting boards also deserve attention. Clean, neatly finished trims make freshly painted walls look sharper, while chipped or yellowed enamel can make the rest of the repaint feel incomplete. Depending on the office condition and budget, these may be included throughout or prioritised in customer-facing areas.
Selecting Paint for Busy Commercial Areas
Paint selection should suit the way the office is used. A low-sheen washable finish is often a practical choice for main walls because it provides a softer look than high gloss while handling regular cleaning better than a flat finish. In corridors, reception areas and rooms used by clients, durability is usually more important than choosing the lowest-cost option.
Ceilings generally benefit from a flat finish that helps hide minor imperfections and reduces glare. Doors and trims need a tougher coating that can handle frequent contact, cleaning and the occasional knock from chairs, trolleys or office equipment.
The right choice depends on the existing surface and the level of wear. A quiet professional office has different needs from a school administration building, medical practice, retail back office or busy warehouse reception. A good painting scope considers these differences rather than applying the same product and finish to every room.
The Painting Process, Stage by Stage
Once preparation is complete, the painter cuts in around ceilings, corners, windows, door frames and fittings before rolling the main wall areas. Working in a logical order helps maintain a consistent finish and avoids marking completed surfaces while other areas are still being prepared.
For this office repaint example, ceilings are painted first, followed by walls, then trims and doors. Two full coats are applied where required to achieve even coverage and colour depth. The feature wall is completed with particular care, as lap marks or inconsistent coverage are more noticeable in a deeper tone.
Between coats, the area is checked for small imperfections that may need another light sand or fill. This is one of the practical advantages of using an experienced commercial painter: issues are addressed while the work is underway, rather than being left for the client to find after furniture is moved back in.
Ventilation, drying time and odour should also be managed sensibly. Low-odour products and a staged schedule can make the process more comfortable for staff, but freshly painted rooms still need appropriate time before normal use. Rushing furniture back against walls or returning staff before coatings have cured can affect the finish.
What the Completed Office Looks Like
When the repaint is complete, the improvement is often more noticeable than expected. The reception area feels brighter and more organised. The meeting room has a cleaner backdrop for client discussions and video calls. Marks, patches and tired trim no longer distract from the business’s work.
Just as importantly, the office is left clean and ready to use. Drop sheets, masking materials and rubbish are removed, floors are checked and furniture is returned or uncovered as agreed. A professional finish includes the handover, not just the painting itself.
A repaint can also help landlords and property managers present a tenancy well between occupants. In that situation, neutral colours and durable finishes are usually the sensible choice, as they appeal to a wider range of incoming tenants and simplify future maintenance. For owner-occupied offices, the colour scheme can be more closely aligned with the business brand and the experience it wants clients to have.
When an Office Repaint Needs More Than Paint
Sometimes the inspection reveals issues that should be addressed before repainting. Water stains may point to an active leak. Peeling paint can indicate moisture, poor adhesion or unsuitable earlier coatings. Cracked plaster, damaged timber, rusted metalwork or failed sealant around windows may need repair first.
Painting over these problems may improve the look briefly, but it will not provide a lasting result. This is where thorough preparation and honest advice protect the value of the project. Minor carpentry repairs, patching and paint-problem remediation can often be coordinated as part of the work, keeping the process simpler for the property owner or manager.
For offices across Wyndham, Hobsons Bay, Greater Geelong, the Bellarine Peninsula and Surf Coast, Seaview Painting Services can assess the condition of the space, plan around business hours and provide a clear, no-obligation painting quote. The best starting point is a walkthrough of the workplace, because the right repaint plan should fit the building, the people using it and the standard you want visitors to see.