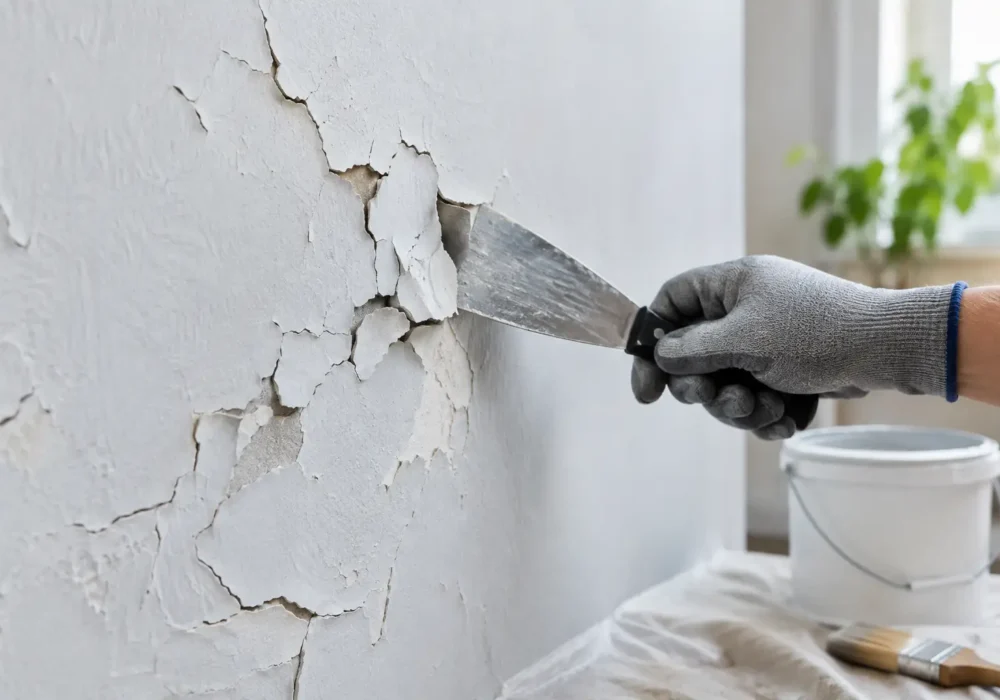
A few fine cracks in a painted wall or weatherboard can be easy to dismiss. But paint cracking causes are often more than cosmetic. The pattern, location and timing of the cracks can point to moisture, poor preparation, ageing coatings or movement in the surface underneath. Addressing the reason for the failure before repainting is what gives the new finish a proper chance to last.
For homes and commercial properties across coastal and bayside areas, this matters even more. Strong sun, rain, wind, salt exposure and changing temperatures all place pressure on exterior paintwork. Inside, steam, leaks and everyday wear can create their own set of issues. A careful inspection helps separate a straightforward repaint from a problem that needs repairs first.
What cracked paint is telling you
Paint is designed to form a protective film over plaster, timber, masonry or metal. When that film loses flexibility, adhesion or support from the surface below, it can split. The crack itself is the visible symptom, not always the starting point.
Fine, shallow cracking may be limited to the paint layers. Wider cracks that continue through plaster, render or timber joints can signal movement or deterioration in the substrate. Cracks around windows, gutters, bathrooms and external trims deserve particular attention because water can often be involved.
The right repair depends on what has failed. Simply applying another coat over cracked paint may make the surface look better briefly, but the cracking often returns if loose coatings, dampness or movement have not been dealt with.
Common paint cracking causes
Inadequate surface preparation
Preparation has a direct effect on how well paint adheres. Dust, chalky residue, grease, soap film, mould, loose old paint and weathered timber can all prevent a new coating from bonding properly. As the coating dries and moves with the building, weak adhesion can show up as cracking, peeling or flaking.
Exterior surfaces commonly need washing before any sanding or painting begins. On older weatherboards, trims and fascia boards, failed paint should be scraped back to a sound edge, then sanded so the transition is smooth. Interior walls may need cleaning, patching and a light sand, particularly in kitchens, hallways and rental properties where marks and residue build up over time.
Skipping these steps can save time on day one, but it usually creates more work later. Good painting starts with a clean, sound and dry surface.
Moisture behind or beneath the paint
Moisture is one of the most common reasons paint fails prematurely. A leaking gutter, cracked roof tile, blocked downpipe, failed flashing, overflowing shower or poorly sealed window can allow water into the surface. The paint may first blister, soften or discolour before it cracks and peels away.
On timber, repeated wetting and drying can cause boards to swell, shrink and split. On masonry and render, moisture can carry salts to the surface, leaving a white powdery deposit and weakening the paint bond. In bathrooms and laundries, poor ventilation can leave damp air sitting on ceilings and walls long after the room is used.
Repainting over a damp area traps the problem rather than solving it. The source of water needs to be identified and repaired, then the surface must be allowed to dry properly before preparation and coating begin.
Thick coats or rushed drying times
Applying paint too heavily can cause the top layer to dry faster than the paint beneath it. The outer skin begins to shrink while the lower layer is still soft, leading to a wrinkled or cracked appearance. This is particularly likely with thick coatings, unsuitable rollers or attempts to cover a dark colour in one very heavy coat.
Rushing the time between coats can produce a similar result. Paint might feel dry to touch, but it may not have cured sufficiently for the next coat. Temperature, humidity and airflow all affect drying time, so the label guidance is a starting point rather than a substitute for site conditions.
Several even coats are generally more durable than one overloaded coat. For exterior work, choosing a suitable day and allowing each coat the required drying time can make a noticeable difference to the life of the finish.
Incompatible paint systems
Not every paint product will bond reliably to every existing finish. Applying a water-based product over an unstable, glossy or poorly prepared older coating can lead to adhesion failure. The same applies where an unsuitable primer has been used, or where different products have been mixed without checking their compatibility.
Older properties can be more complicated because the paint history may be unknown. There may be multiple layers, previous patch repairs, oil-based coatings or areas where paint has been applied directly over bare timber or filler. A small test area and the correct primer can prevent a larger failure across the wall, door or weatherboard facade.
This is also why bare patches should not be treated as an afterthought. Exposed timber, fresh plaster repairs, stained areas and metal components each need the right preparation and primer before top coats are applied.
Building movement and ageing materials
Buildings move. Timber expands and contracts with moisture and temperature changes, plaster can shift slightly as a house settles, and joints around doors and windows are exposed to constant movement. Paint has some flexibility, but it cannot bridge large gaps or compensate for loose materials underneath.
Hairline cracks in an older plaster wall are often a maintenance issue, especially if they are stable and limited to the surface. Cracks that widen, reappear soon after repair, or run diagonally from window and door corners may need further assessment before painting. The same applies to damaged render, rotten timber or loose external trims.
Flexible gap sealant can be appropriate for small joints and gaps where movement is expected. It is not a fix for structural movement, deteriorated timber or extensive cracking in masonry. In those cases, the underlying repair comes first.
Reading the pattern of the cracking
The shape of the crack offers useful clues. Fine, widespread cracking that resembles a network or crocodile skin usually suggests an ageing paint film, excessive paint build-up or incompatible layers. Long cracks following timber grain can indicate weathered boards, movement or moisture exposure.
Cracking concentrated near wet areas may point to a plumbing or ventilation issue. Peeling and cracking around eaves, windows and fascia boards often warrants a close look at gutters, seals and drainage. If the paint is cracking only in one repaired section, the patch may not have been sanded, primed or dried correctly before painting.
It is worth checking whether the cracks are only in the coating or continue into the surface beneath. Lightly pressing around the affected area can reveal hollow, soft or loose material. Do not ignore soft timber, crumbling plaster or persistent damp patches, as paint alone will not make them sound.
How a lasting repair is usually completed
A reliable repair begins with removing failed paint rather than coating over it. Loose and cracked areas are scraped back, sanded and feathered into the sound surrounding paint. The surface is then cleaned to remove dust and contaminants.
Any contributing repairs should be completed before painting. This may include replacing small sections of damaged timber, filling holes, repairing plaster, resealing joints or correcting a moisture source. Once the area is dry and stable, suitable filler or sealant can be applied and sanded for a smooth finish.
Primer is then used where it is needed, especially on bare timber, fresh plaster, exposed metal, stains and repaired sections. The final paint is applied in even coats, with appropriate drying time between each one. For weatherboards and exterior trim, careful attention to board edges, joints and end grain is particularly valuable because these areas are more exposed to water.
When to call a professional painter
Minor surface cracking on a sound, dry wall can often be repaired as part of routine maintenance. It is sensible to seek professional help when cracking is widespread, paint is peeling from multiple areas, timber feels soft, moisture is suspected, or the property has older coatings with an uncertain history.
A professional assessment can help determine whether the problem is confined to the paint system or whether carpentry, plumbing, roof or plaster repairs are needed first. This avoids spending money on a repaint that will fail before it should.
At Seaview Painting Services, thorough preparation is treated as part of the job, not an optional extra. Washing, sanding, filling, gap sealing, priming and minor repairs are completed with the aim of creating a clean, durable finish that suits the surface and the conditions around it.
If cracked paint is appearing around your property, take a closer look before choosing a colour or opening a tin. A well-prepared repaint can refresh the space, but a properly identified cause is what protects the result for years to come.